
Photoshop automations are defined in terms of actions. Actions contain a list of recorded steps that can be applied to images on demand. The basic process requires that you complete a specific task or series of tasks on a target image. Your computer records all of your mouse movements, clicks, and keystrokes so that they can be "played back" and applied to any image you work with in the future. You can run the action on a file (or group of files) at any time.
1. Open the Actions palette (Fig 1)
2. Create a new action (Fig 2)
3. Give your Action a unique name (Fig 3)
4. When you are ready press record. Photoshop will now keep track of every movement your mouse makes, as well as record your keystrokes.
5. In this action we want to resize various images to roughly the same size. Open one of the files you need resized and go to Image> Image Size. In the dialouge box type in the size you'd like your image to become. The image I'm using was originally 300 pixles wide and I've reduced it to 200 pixels. If "Constrain Proportions" and "Resample Image" are checked, the appropriate and proportional width is automatically calculated.
6. Now that your image is the size you want it you'll need to set the save settings. Press Ctrl+Alt+Shift+S (Cmd+Opt+Shift+S on Mac) to open the "Save for Web" dialouge box.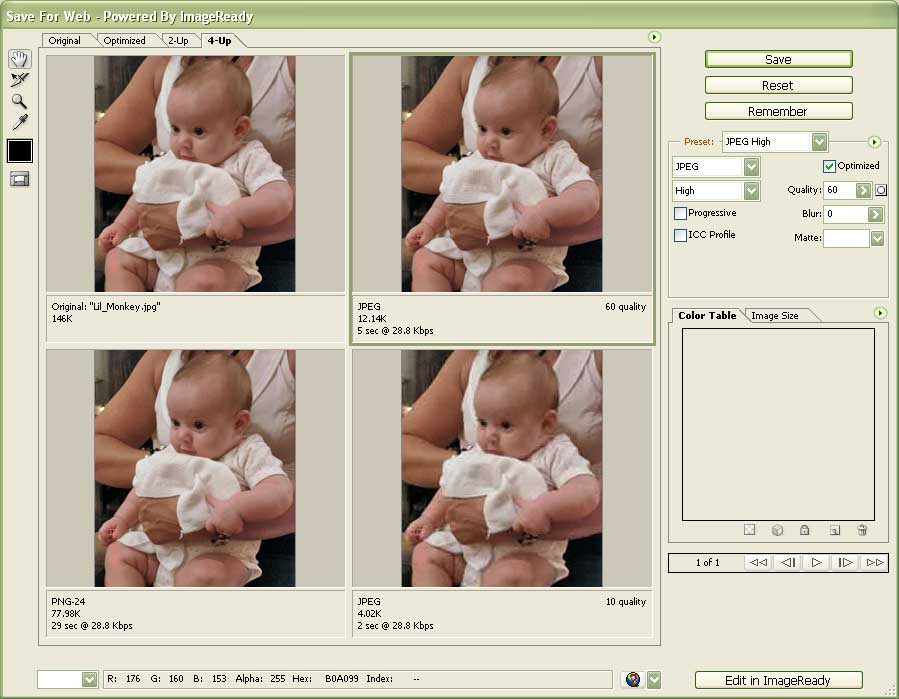
7. Press "Stop" in the Actions Palette. You've just created your very own action! Now let's use it!
8. Now you need to apply this action to all of your photographs. There are a few ways to do this but I prefer going to "File>Automate>Batch." This will open up a new dialouge box. Choose the layer set your action was created in (within the actions palette) and the action name.
You have a couple of different options to choose from but to keep things simple all of the photos you want to resize should live in the same folder together. For "Source" choose the "Folder" option and press "choose". Then navigate to the folder on you hardrive with your original pics.
Outside of Photoshop, create a seperate folder where your new resized images will live so that you do not overwrite your original files. In Photoshop this will be your "Destination" folder in the dialouge box below. Press "choose" and navigate to this new empty folder. Press "OK" and watch PSCS2 work it's magic! Enjoy your new photos!
|
Post a Comment